How to Customize a Shipping Container for Your Needs?
A shipping container can serve as a workshop, office, storage room, or compact living space. The best design starts with a clear purpose, not a long list of upgrades. Consider how many people will use it, what equipment must fit, and whether it will stay in one place. A tape measure, a simple floor plan, and notes about daily routines can prevent costly changes later. Details matter.
Experienced fabricators often assess the container’s condition before planning container modifications. Rust, dents, door alignment, and floor condition can affect the work and the budget. Then come practical choices: insulation for temperature control, ventilation for fresh air, lighting for safe tasks, and doors or windows placed where they are useful. Electrical and structural work should be reviewed by qualified professionals, especially when cutting walls or changing load-bearing areas. Small details, such as a raised floor near an entry, can make a space easier to use.
A neat sketch helps, but it can still overlook real-life movement. Where will a tool cart turn? Does a window create glare on a workbench? It is easy to miss these questions on paper. This guide explores ways to match a container’s layout, materials, and features to your needs, while keeping durability and maintenance in view. Not every upgrade is worthwhile. A modest, well-planned build may serve better than a crowded space full of features you rarely use.
Define the Container’s Purpose, Capacity, and Site Requirements
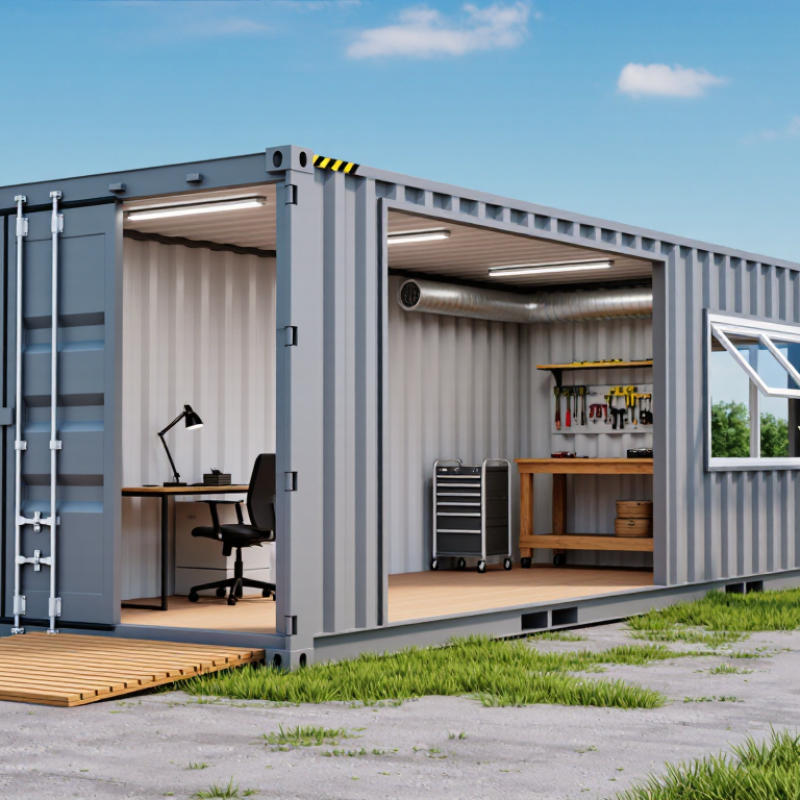
Before choosing doors, insulation, or shelving, define what the container must do. Will it serve as a workshop, storage room, office, or equipment shelter? Each use calls for a different interior layout. A workshop may need clear floor space and strong task lighting, while an office needs comfortable ventilation and room for desks. Write down the daily tasks, not just the room name. Small details matter.
Estimate capacity using the items that will actually go inside. Note their dimensions, weight, and how often they need to be reached. Leave room for walking and opening doors; a container packed tightly can become awkward to use. Measure twice. Heavy equipment may require reinforced flooring, but the needed support depends on how its weight is distributed. Get a qualified assessment when loads are uncertain.
Check the site before settling on a container size. Measure access routes, overhead clearance, ground slope, and the space needed for delivery and door operation. A level, stable base helps keep doors aligned, though local soil and drainage conditions can change what support is suitable. Plans change. A site that looks spacious on paper may have a low branch or a narrow turn. Recheck measurements in person, and leave a little working space around the unit.
Choose a Container Type, Size, and Condition
Start with the items you need to store or move. A standard dry container works well for boxed goods, tools, and furniture. A high-cube model adds vertical clearance for taller equipment or stacked loads. Measure the largest item, then check the door opening as well as the interior dimensions. A 20-foot unit may fit a compact site; a 40-foot unit offers more floor space but needs room for delivery and access.
Some loads call for a different design. An open-side container can simplify loading wide items, while a refrigerated unit suits temperature-sensitive goods. That extra capability brings practical requirements, such as a reliable power supply and ongoing equipment checks. Specialized features can be useful, but they may add expense you do not need. It is easy to overestimate how much space a project will use.
Condition matters just as much as type and size. A newer, one-trip container often has less wear, while a used unit may cost less. Inspect the floor, door seals, hinges, roof, and corner posts. Look for soft spots, visible light, standing water, or doors that stick. Photos are not enough. Ask for a recent inspection and clarify whether the unit is merely wind- and watertight or suitable for your intended use. A small dent may be harmless; hidden floor damage is harder to ignore.
How to Customize a Shipping Container for Your Needs
Choose a container type, size, and condition. Compare these common nominal exterior dimensions to find a starting point for your project.
Dimensions are shown in feet. Standard containers are nominally 8 ft wide and 8 ft 6 in high; high-cube containers are nominally 9 ft 6 in high. Actual dimensions and condition vary, so confirm details with the supplier before customizing.
Plan Structural Changes, Doors, Windows, and Insulation
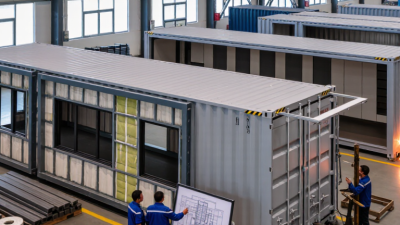
Before cutting a container wall, decide what the space must do and draw the changes to scale. Mark door swings, window positions, furniture, and the path for electrical or plumbing services. A large opening can weaken a corrugated side wall, so have a qualified structural professional specify reinforcement before work begins. Measure twice. The steel looks sturdy, but its shape carries load.
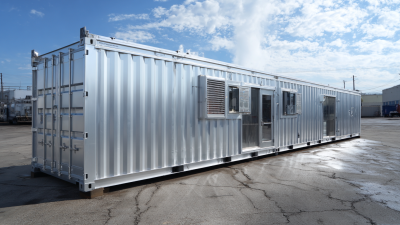
Choose doors and windows for daily use, not just appearance. A wide entry helps with bulky equipment, while smaller windows may provide enough daylight without sacrificing as much wall strength. Reinforced frames should connect securely to the container’s structure, and exposed cut edges need suitable corrosion protection. Check that seals compress evenly; a narrow gap can admit wind-driven rain.
Insulation choices depend on climate, intended use, and available interior space. Closed-cell spray foam can limit air leakage, while rigid boards may be easier to inspect or replace. Either way, plan for condensation: warm, moist indoor air meeting cold steel can leave hidden dampness behind the lining. Include ventilation and consider thermal bridges around steel ribs and window frames. Small details matter. It is tempting to prioritize a perfect finish, but access for future inspection is worth keeping—even if the interior looks less seamless.
Customize Interior Layouts, Utilities, and Equipment
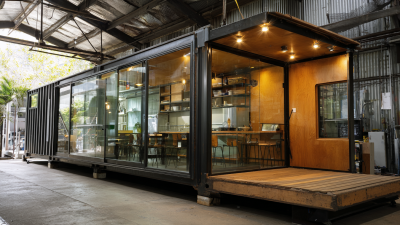
A useful container begins with a clear work plan. Sketch where people, tools, and materials will move before fixing walls or cabinets. Keep frequently used equipment near the entrance, and leave enough room to open doors and service panels. Dodge Data & Analytics’ 2019 SmartMarket Report found that 66% of prefabrication users reported improved schedule performance. That is a useful benchmark, not a guarantee for every container project. Measure twice. A layout can look neat on paper and still feel cramped once shelves and equipment are installed.
Plan utilities around the actual load. Ask a qualified professional to size electrical circuits, ventilation, and heating or cooling before installation. Seal wall and roof penetrations carefully; gaps can invite water and condensation into a steel enclosure. Choose lighting for the tasks performed inside. The U.S. Department of Energy reports that LEDs use at least 75% less energy than incandescent lighting. For plumbing, protect exposed lines from freezing where temperatures demand it, and keep shutoff valves accessible. One detail people often miss: insulation reduces heat transfer, but it does not replace ventilation. Recheck the layout after a trial setup; small adjustments can prevent daily frustrations.
How to Customize a Shipping Container for Your Needs? - Customize Interior Layouts, Utilities, and Equipment
Typical planning options for adapting a shipping container to different uses
| Use |
Suggested Container |
Interior Layout |
Utilities to Plan |
Common Equipment |
Practical Considerations |
| Workshop |
20 ft or 40 ft standard dry container |
Keep a clear central aisle; position benches and tool storage along the long walls. |
Electrical service, task lighting, ventilation, and enough outlets for the intended tools. |
Workbenches, lockable cabinets, tool racks, and a fire extinguisher suited to the hazards present. |
Check floor capacity and secure heavy equipment. Provide suitable ventilation when work creates fumes or dust. |
| Office or site room |
20 ft for a compact room; 40 ft for additional workstations or a meeting area |
Allow space for desks, circulation, and a clear route to the exit; consider a partition for separate functions. |
Lighting, electrical outlets, data cabling, and heating or cooling appropriate to the climate. |
Desks, chairs, cable management, storage, and a suitable heating, ventilation, and air-conditioning unit. |
Insulation and internal lining reduce usable width and height. Plan for condensation control and safe, code-compliant wiring. |
| Storage room |
20 ft for smaller inventories; 40 ft for longer items or higher volume |
Use shelving along the sides and keep access routes and door clearance unobstructed. |
Basic lighting; add ventilation or humidity control where stored goods require it. |
Adjustable shelving, pallet racking where appropriate, inventory labels, and moisture monitoring if needed. |
Confirm the container floor and any racking are suitable for the planned loads. Anchor storage systems as appropriate. |
| Break room |
20 ft for a small crew; 40 ft where more seating or separate zones are needed |
Separate seating from food-preparation space and keep a clear path to the exit. |
Electrical service, lighting, ventilation, and plumbing if sinks or other water fixtures are installed. |
Tables, seating, cabinets, a refrigerator, and a handwashing sink where plumbing is provided. |
Plumbing, drainage, and food-related requirements depend on the intended use and local regulations. |
| Equipment or utility room |
20 ft or 40 ft, sized to the equipment and required service clearances |
Arrange equipment to allow inspection, maintenance, and safe access to controls and shutoffs. |
Dedicated electrical circuits or other services as specified for the equipment; ventilation and drainage where required. |
Equipment skids, control panels, cable trays, service lighting, and safety signage as applicable. |
Verify structural support, equipment clearances, heat output, and access for installation and future maintenance. |
Planning note: Standard dry-container internal dimensions vary by manufacturer and model. A typical 20 ft container is approximately 5.9 m long internally, while a typical 40 ft container is approximately 12.0 m long; verify the unit’s actual dimensions before designing the fit-out. Structural changes, electrical work, plumbing, ventilation, and occupancy requirements should be reviewed by qualified professionals and checked against local regulations.
Check Safety, Building Codes, and Final Installation
Before ordering a modified shipping container, check zoning, building codes, and permit requirements with the local authority. Rules can differ by location and intended use. A container used for storage may face different requirements from one used as an occupied workspace. Ask whether plans need review, and confirm requirements for exits, insulation, electrical work, and fire safety.
Cutting openings for doors or windows can weaken the frame. Have a qualified professional assess major changes and specify reinforcement where needed. Inspect the container for corrosion, damaged corner castings, and floor problems before work begins. Small cuts matter. A neat drawing does not guarantee a safe structure; that assumption deserves a second look.
Plan the final installation before delivery. Confirm that the access route can accommodate the delivery vehicle and lifting equipment, and prepare a stable, level base suited to the site. Keep drainage in mind. Water trapped beneath the container can contribute to corrosion or movement. Arrange utility connections with qualified tradespeople, then check doors, vents, and services after placement. Photograph the base and connections for your records. Some details may need adjustment once the container is in position.